Item Numbering and Item Form
Item Numbering controls how KartuStok suggests item codes. Item Form controls which custom item fields appear on the item master form.
Use these features when the standard item fields are not enough or when item codes must follow a company pattern.
Menu Location and Access
| Feature | Menu | Permission |
|---|---|---|
| Item Numbering | Manage -> Others -> Item Numbering | Item numbering access. |
| Item Form | Manage -> Custom Form -> Item Form | Item Form permission in role access. |
Item Numbering
Item Numbering has these fields:
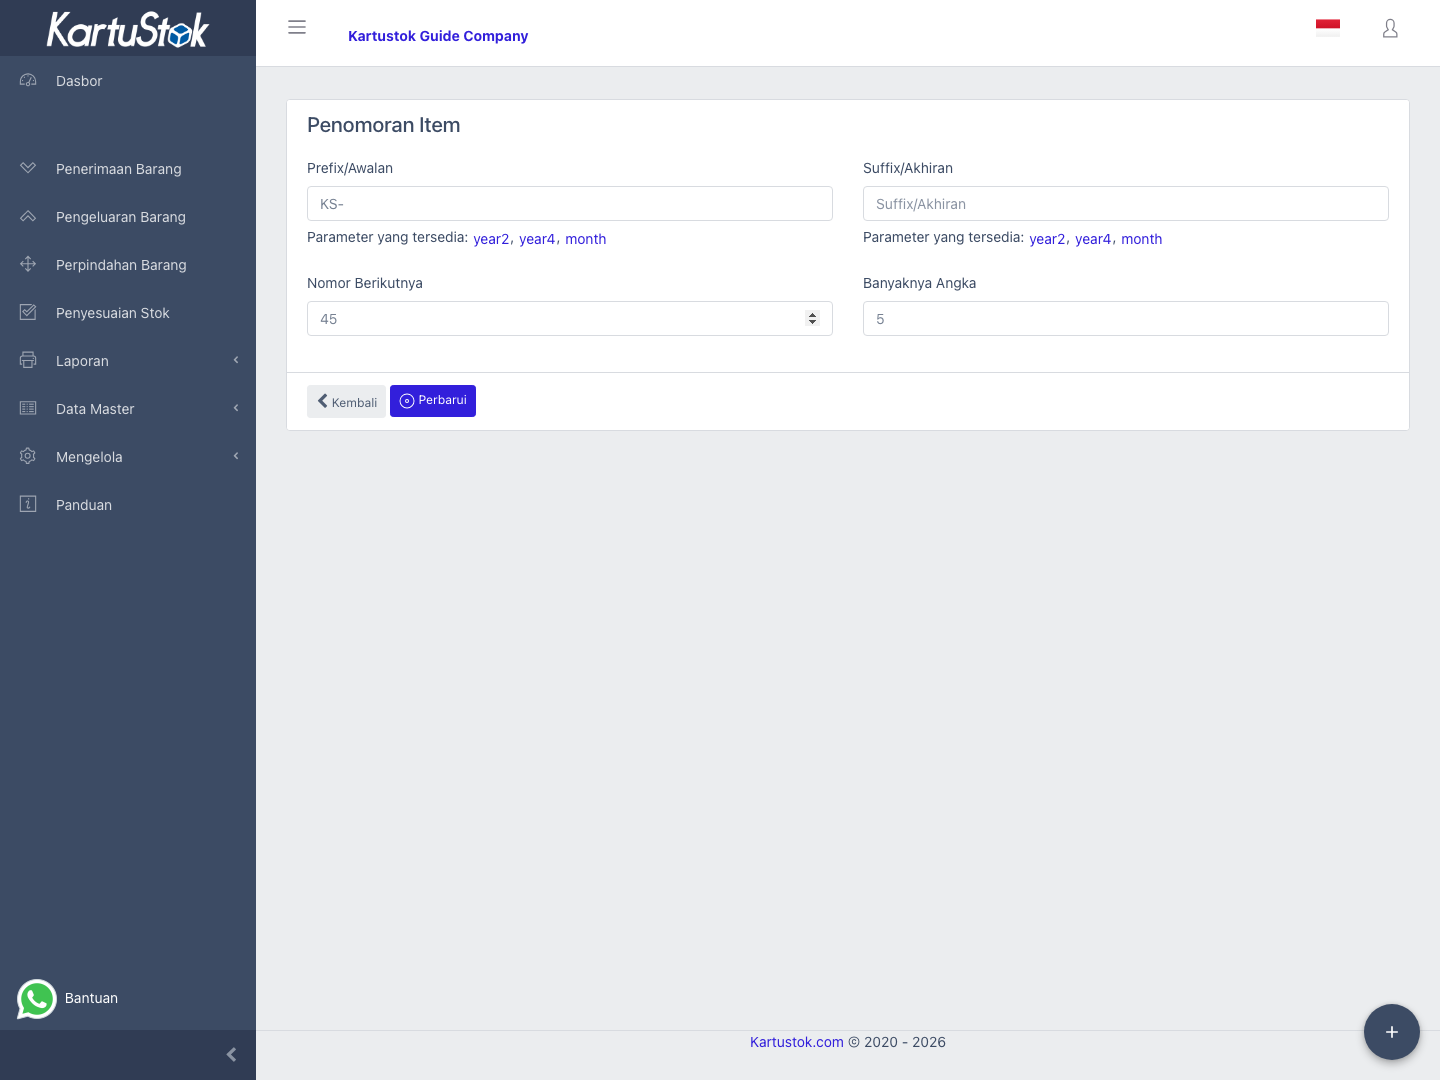
| Field | Meaning |
|---|---|
| Prefix | Text added before the running number. It can include {year2}, {year4}, or {month}. |
| Suffix | Text added after the running number. It can also include {year2}, {year4}, or {month}. |
| Next No | Next running number KartuStok will use. |
| Length No | Number padding length. For example length 5 turns number 1 into 00001. |
When an item code is generated, KartuStok combines prefix, padded next number, and suffix. If the code is stored successfully, Next No increases.
Practical Example: Standard Item Code
A company wants item codes such as KS-00001.
| Setup | Value |
|---|---|
| Prefix | KS- |
| Length No | 5 |
| Next No | 1 |
| Suffix | empty |
The next generated item code becomes KS-00001. If the next number is updated to 25, the next generated code becomes KS-00025.
Item Form
Item Form shows a preview of standard item fields and two custom-field lists:
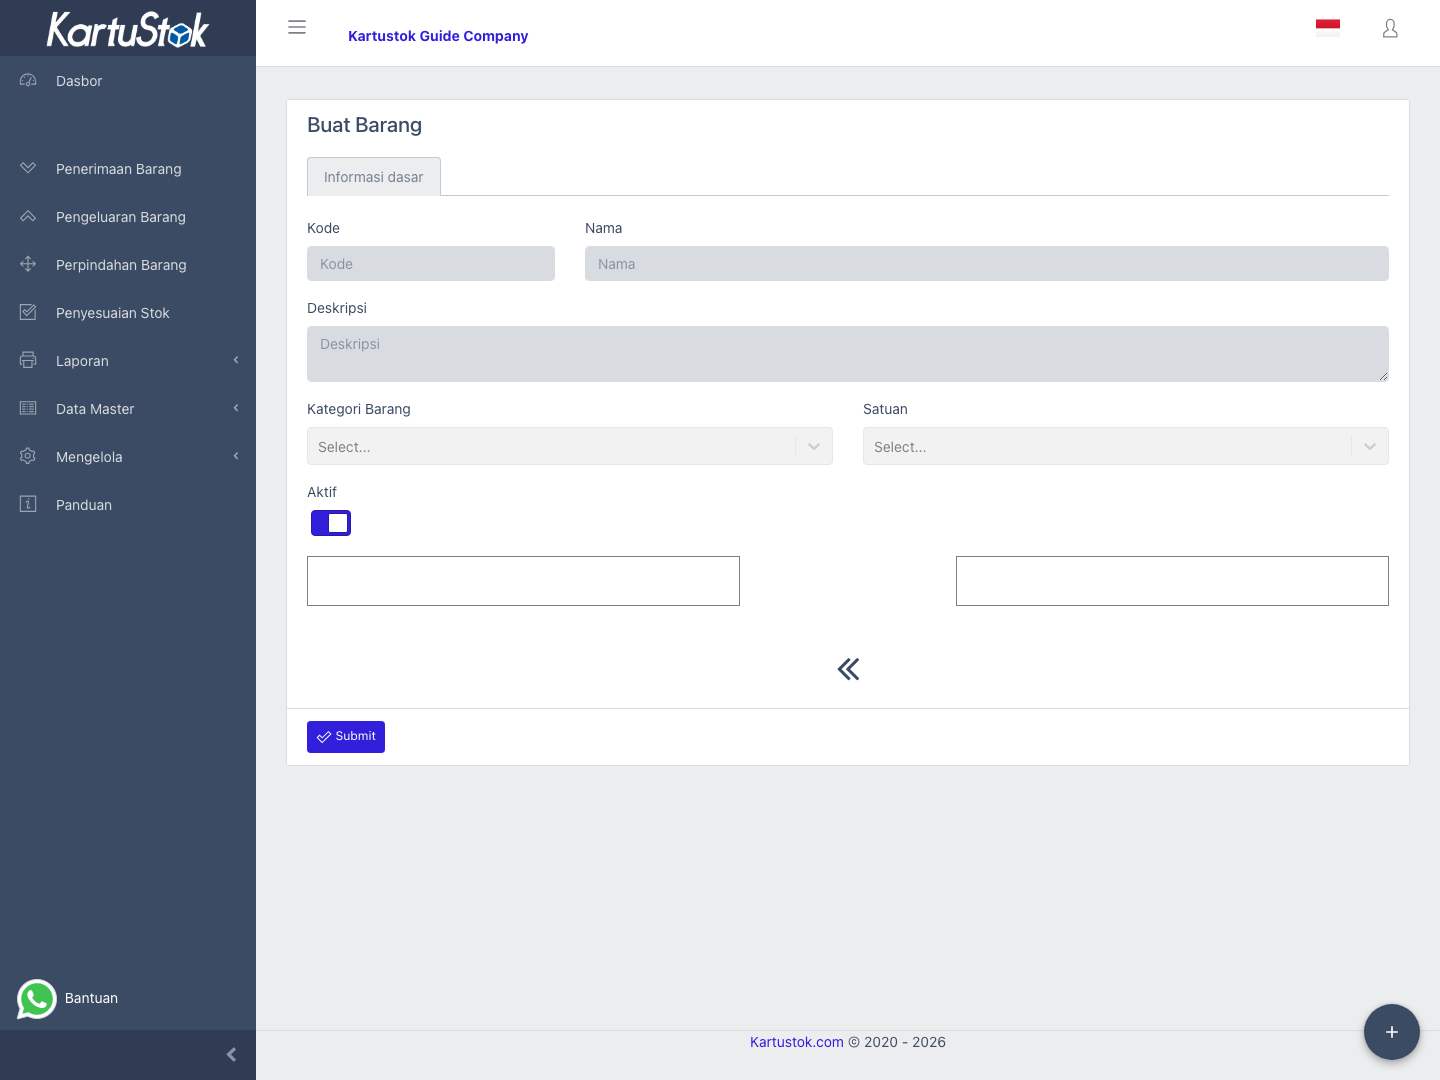
| Area | Meaning |
|---|---|
| Selected Fields | Custom fields that will appear on the item form. |
| Available Custom Fields | Active custom fields that are not currently used on the item form. |
Move fields between the lists, mark fields as mandatory when needed, then select Submit. The item form saves the selected custom fields to the company item form configuration.
Item Form Setup Steps
- Create reusable fields in Manage -> Custom Form -> Custom Fields.
- Open Manage -> Custom Form -> Item Form.
- Move the fields that should appear on item create/update into Selected Fields.
- Mark a field mandatory only when item master data is unsafe without it.
- Select Submit.
- Open Master Data -> Item -> Create Item and confirm the selected fields appear.
Item Form Examples
These are recommended examples, not built-in fields. Add only fields that users will actually maintain.
| Operational Need | Suggested Custom Fields | Why They Help |
|---|---|---|
| Technical spare parts | Brand, Model, Machine, Specification. | Helps users distinguish similar parts. |
| Storage control | Storage Rule, Temperature Requirement, Shelf Location. | Gives warehouse users handling guidance. |
| Barcode workflow | Alternate Code, Barcode Note, Scan Instruction. | Supports item selection and picking. |
| Batch-sensitive item | Batch Required, Expiry Control, Lot Rule. | Reminds users to capture batch context during transactions. |
Good Practices
- Keep item code patterns stable after transactions and imports start using them.
- Only add custom fields that users will actually fill.
- Make a custom field mandatory only when the item cannot be managed safely without it.
- Test item create/update after changing Item Form.
Common Problems
| Problem | Fix |
|---|---|
| Item code pattern is wrong | Check Prefix, Suffix, Next No, and Length No. |
| Year or month does not appear | Use the supported placeholders exactly: {year2}, {year4}, {month}. |
| Custom field does not appear on item form | Confirm the field is active and placed in Selected Fields. |
| Users cannot open Item Form | Check the role permission for Item Form. |