Import Transaction Lines
Transaction line import is used when a Receipt, Issue, Move, or Adjustment has many item lines.
Stock Transformation documents do not use transaction line import because Assembly and Disassembly lines are generated from the selected BOM.
Menu Location and Access
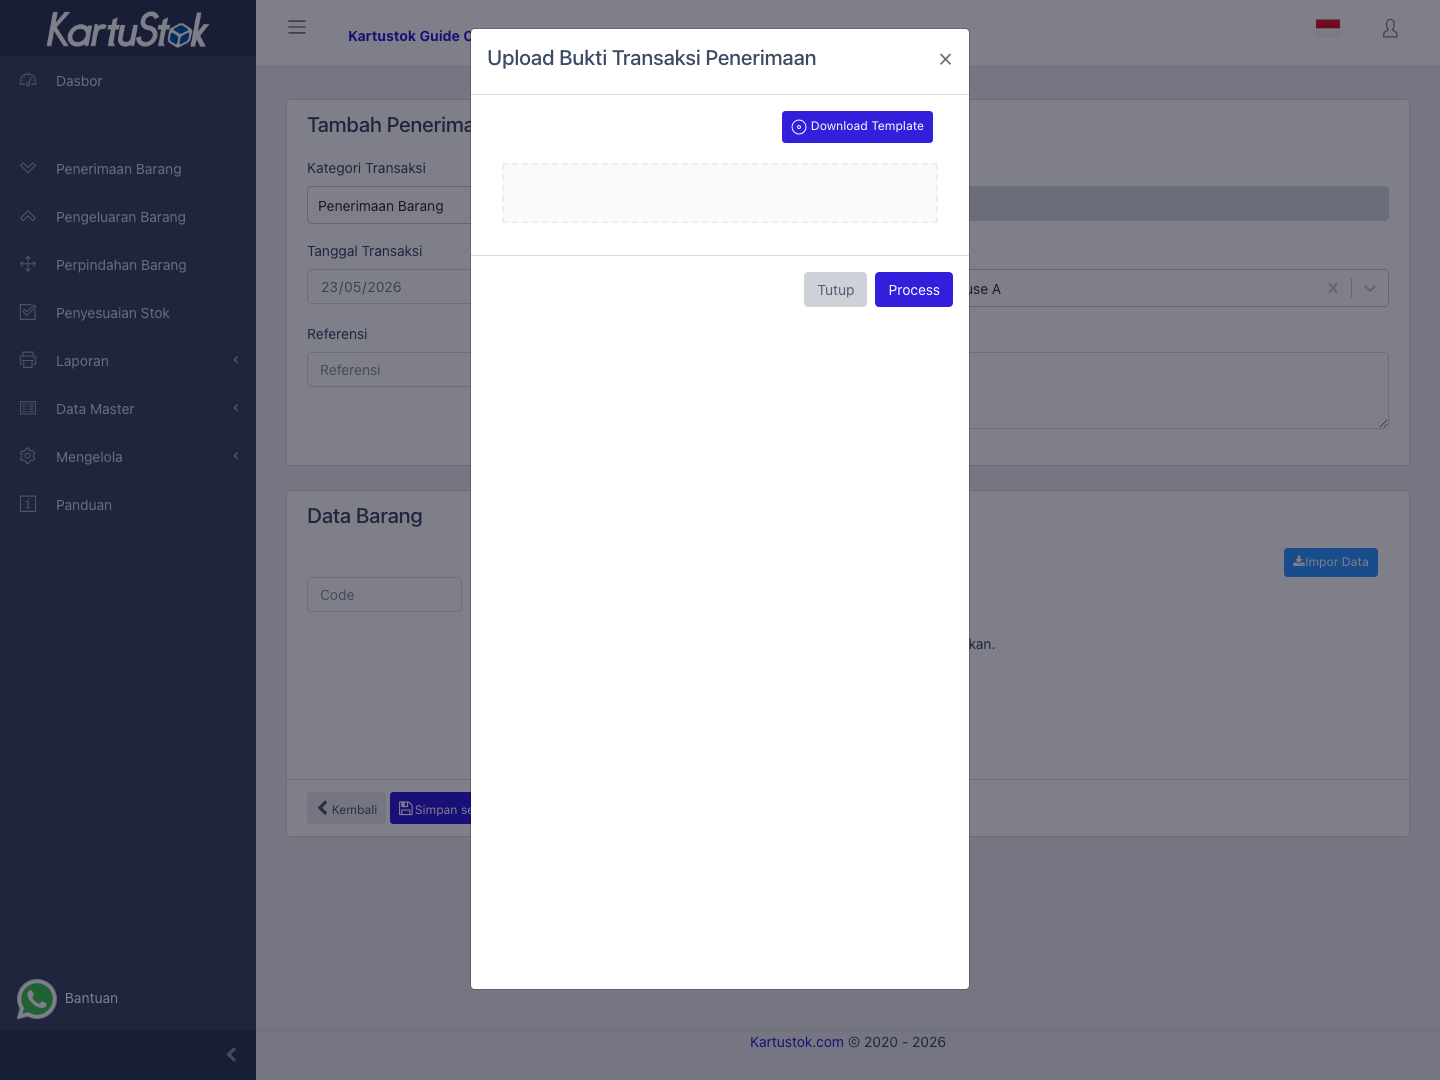
Open a Receipt, Issue, Move, or Adjustment create or update page, then select Import Data in the item detail area. The user must have access to the transaction type and import action.
When to Use It
Use transaction import when:
| Situation | Why Import Helps |
|---|---|
| Many item lines | Faster than adding one line at a time. |
| Data comes from another system | Spreadsheet can be prepared externally. |
| Stock opname result is large | Adjustment lines can be uploaded in bulk. |
Import Steps
- Create or open the transaction header.
- Select warehouse and required header fields.
- Select Import Data in the item detail section.
- Upload the transaction line spreadsheet.
- Process the import.
- Review all imported lines before completing the document.
Sample Files
| Transaction Use | Sample File | Notes |
|---|---|---|
| Receipt, Issue, or Move lines | transaction-lines-import-sample.xlsx | Uses Item Code, Quantity, and Description. |
| Adjustment / stock opname lines | transaction-adjustment-import-sample.xlsx | Uses Item Code, Quantity Count, and Description. |
Important: Import files only add lines to the transaction form. They do not replace header review or completion checks.
Important: Import is not available for Stock Transformation. Create Assembly and Disassembly from the transformation form so the system can generate input and output lines from BOM.
Import files only add lines to the transaction form. Review the imported lines before completing the transaction.
Important Columns
| Column | Meaning |
|---|---|
| Item Code | Item to add to the transaction. |
| Quantity | Movement quantity. |
| Quantity Count | Physical count quantity for adjustment import. |
| Description | Line note when supported. |
Common Problems
| Problem | Fix |
|---|---|
| Item line does not appear | Confirm item code exists and item is active. |
| Quantity is wrong | Check UOM and conversion. |
| Price is ignored | The role may not have the Update switch enabled on the Price row in Roles & Permissions, or company pricing is off. |
| Transaction cannot complete | Review required fields and imported lines. |